Setup of an OpenVPN Client (Windows)
Before you begin
-
Obtain the following certificates that are required for building an SSL-VPN connection environment and setting up a client:
- CA certificate of server certificate
- Client certificate
- Client private key
-
Fujitsu has confirmed operation of this setup procedure in the following environment:
- OS: Windows 7 Professional 64bit Japanese Version
- OpenVPN: 2.3.X (X: 10 or later), 2.4
Note: When using OpenVPN 2.3.9 or earlier, uninstall it, and then re-install it following the procedure below.
About this task
To establish an SSL-VPN connection from a PC where Windows OS is installed, follow the setup procedure below.
Procedure
-
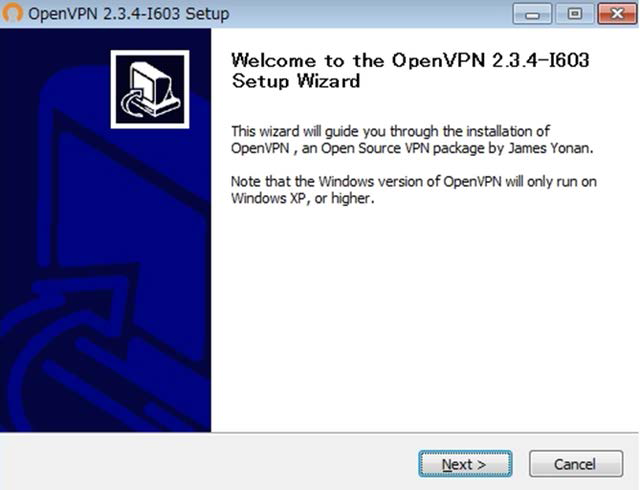
Execution of the installer
Click the Next button.
-
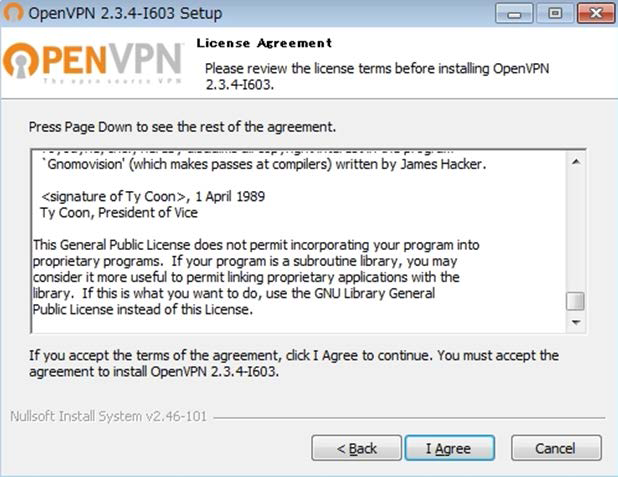
Agreement to the terms of the license
Confirm the displayed terms of the license and click the I Agree button.
-
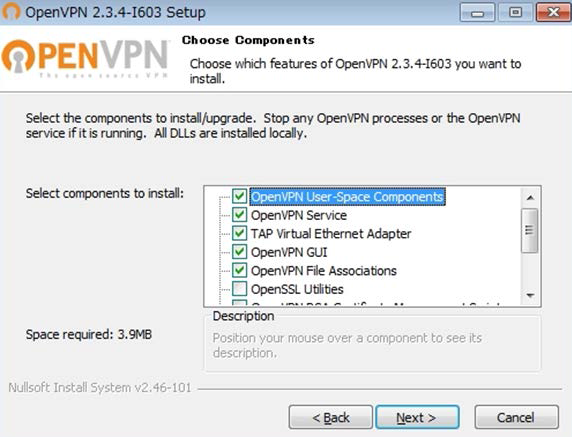
Confirmation of the components to be installed
Click the Next button with the default options selected.
-
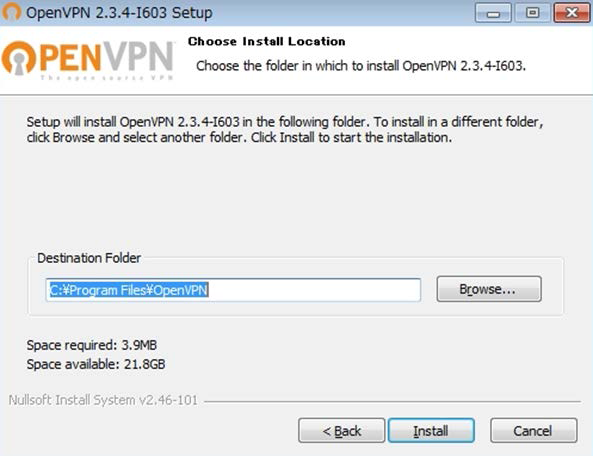
Checking of the installation folder
If you want to use the default folder, click the Install button.
-
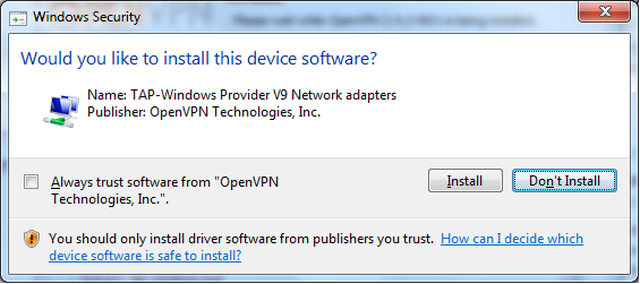
Acceptance of the security warning
Click the Install button.
-
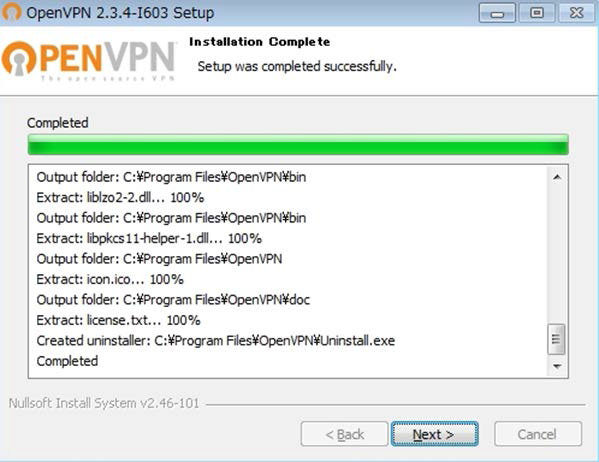
Confirmation of installation completion
When the completion screen appears, click the Next button.
-
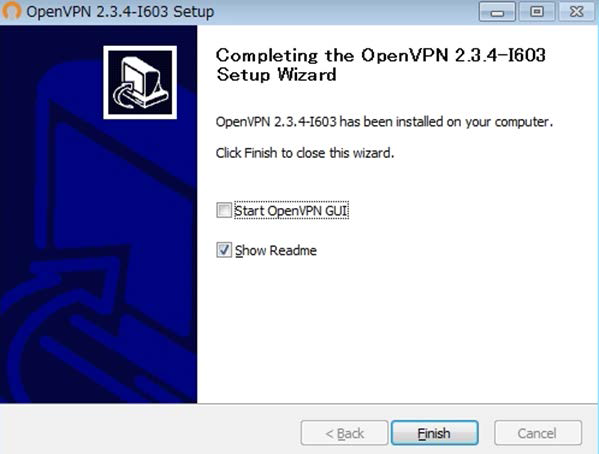
Completion of the installation
Click the Finish button to finish the installer.
Results
This completes the installation of OpenVPN client.
What to do next
Set up the OpenVPN client.
-
Storage of certificate files and a key file
C:\Program Files\OpenVPN\config\
In the folder above, store the files below, which are prepared in advance. (The file names are shown only as an example.)
- ca.crt: CA certificate
- client.crt: Client certificate
- client.key: Client private key
-
Creation of the client settings file
Create the client settings file using a text editor.
Include the content below in a text file. Copy the text to the text file.
client
dev tun
proto tcp
remote xxx.xxx.xxx.xxx 443
resolv-retry infinite
nobind
persist-key
persist-tun
ca ca.crt
cert client.crt
key client.key
ns-cert-type server
cipher AES-128-CBC
http-proxy xxx.xxx.xxx.xxx 8080 stdin basic
Based on the information of SSL-VPN resources, edit this text file as follows.
Location to Edit
(Starting String)
Content to Edit proto Format proto [protocol ( tcp/udp )]
* If an HTTP proxy server is involved when using an SSL-VPN connection, specify "tcp".
Example proto tcp (when using tcp)
proto udp (when using udp)
remote Format remote [Connection destination server address (Global IP address of the SSL-VPN Connection resource)] [Connection destination port (443/1194)]
*When SSL-VPN Connection resources are in a redundant configuration, enter two lines that start with "remote" and specify one connection destination in each line.
Example remote xxx.xxx.xxx.xxx 443 (when using tcp)
remote xxx.xxx.xxx.xxx 1194 (when using udp)
ca Format ca [Authentication certificate file name] Example ca ca.crt cert Format cert [Client certificate file name] Example cert client.crt key Format key [Client private key file name] Example key client.key http-proxy Format http-proxy [IP address of the HTTP proxy server] [Port number of the HTTP proxy] stdin basic
stdin: When connecting to an HTTP proxy server, input of the user name and password will be requested.
basic: The authentication method will be basic authentication.
* If an HTTP proxy server is not involved when using an SSL-VPN connection, delete this setting.
Example http-proxy xxx.xxx.xxx.xxx 8080 stdin basic Note:When using OpenVPN 2.4 or later, add the following line.
tls-cipher DHE-RSA-AES128-GCM-SHA256:DHE-RSA-AES128-SHA256:DHE-RSA-AES128-SHA:DHE-RSA-CAMELLIA128-SHA:AES128-GCM-SHA256:AES128-SHA256:CAMELLIA128-SHA:ECDH-RSA-AES128-GCM-SHA256:ECDH-ECDSA-AES128-GCM-SHA256:ECDH-RSA-AES128-SHA:ECDH-ECDSA-AES128-SHA
-
Saving of the edited file
Save the edited file using the folder and file name shown below.
C:\Program Files\OpenVPN\config\client.ovpn
Tip: It is possible to change the "client" section of "client.ovpn" to another desired string. It is also possible to prepare multiple files, with one file for each connection destination.