3.5 PaaS Management#
3.5.1 Managing Service Group Information#
3.5.1.1 Adding a Service Group#
Services become available after a service group is added.
Before Starting#
Log in to FJCS Portal as a "Contractor" or an "Administrator".
Outline#
Service groups are used for grouping currently in use services on the [Services In Use] screen, [Usage Fee (Provisional)] screen, and [Usage Fee (Finalized)] screen. Currently in use services can be displayed based on user system environments. Multiple sub service groups can be created on a service group. After selecting a service to be used, the service group and sub service group to be linked with can be specified on the [Service settings] screen. (*1) Create a service group following the procedure below. In the example, creation of a service group with a single sub service group is described.
* This step is not required for CF service because a fixed service group is created when you have applied for it.
Procedure#
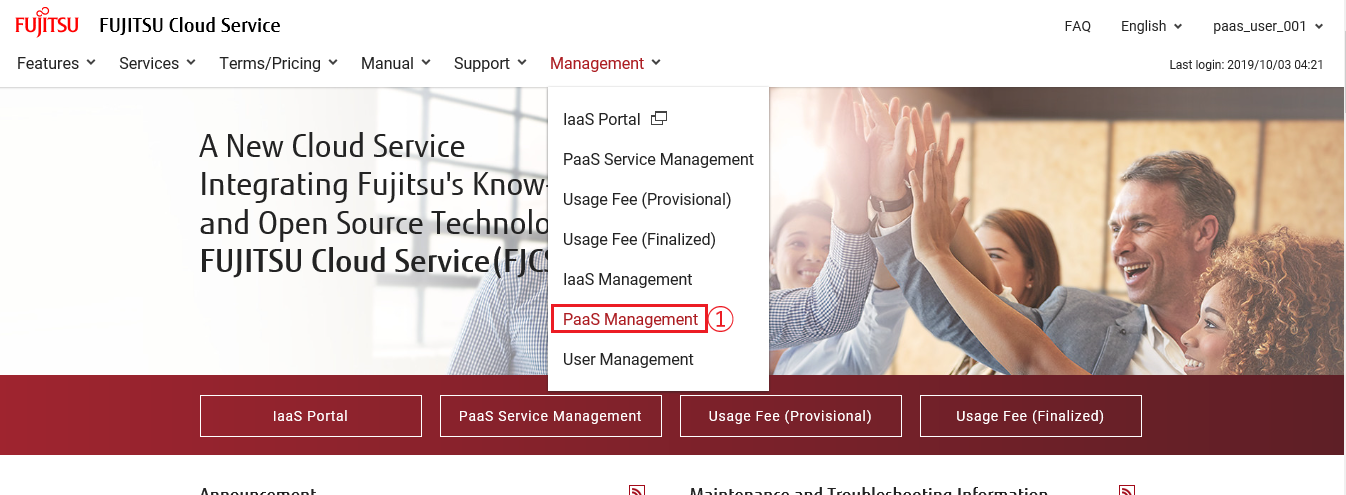
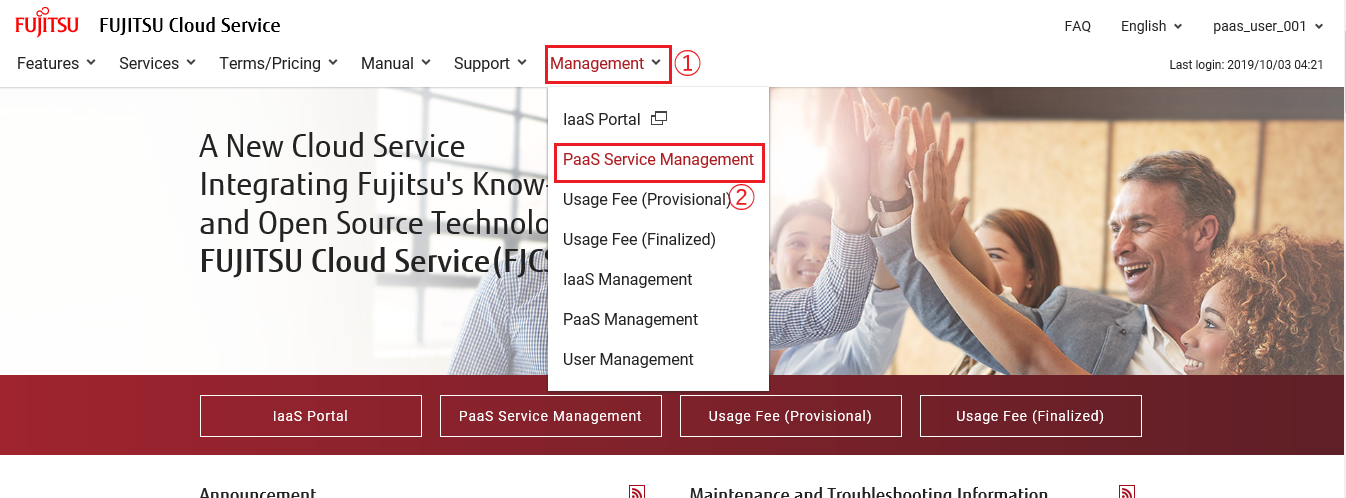
- Click [PaaS Management] ① in the pull-down menu of [Management] in the upper part of the screen.
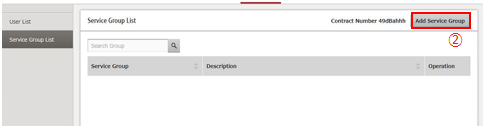
- On the [Service Group List] screen, click [Add Service Group] button ②.
-
On [Add Service Group] screen, enter service group information and click [Next] button ③.
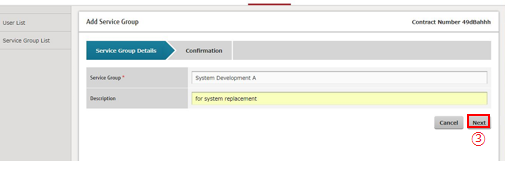
Item Name Explanation Service Group Enter a service group name, following the input restrictions. Description Enter a service group description, following the input restrictions. -
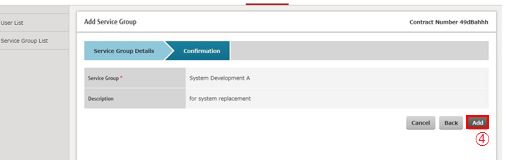
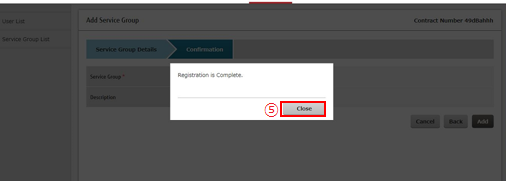
On the confirmation screen, check the entered information and click [Add] button ④.
- The message ‘Registration is Complete’ is displayed on screen. Click [Close] button ⑤.
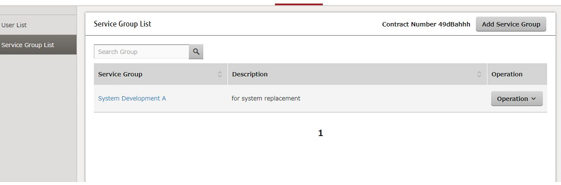
- On [Service Group List] screen, confirm that the registered service group name is displayed.
3.5.1.2 Adding a Sub Service Group#
Services become available after a sub service group is added under a service group.
Before Starting#
Log in to FJCS Portal as a "Contractor" or an "Administrator" and display [Service Group List] screen (see 3.5.1.1).
Outline#
Create a sub service group under a service group, following the procedure below. Multiple sub service groups can be created under one service group. In the example, only one sub service group will be created.*
* This step is not required for CF service because a fixed sub service group is created when you have applied for it.
Procedure#
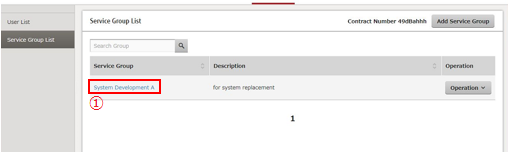
- On [Service Group List] screen, check that the name of [Service Group] ① registered in 3.5.1.1 is hyper linked and click it.
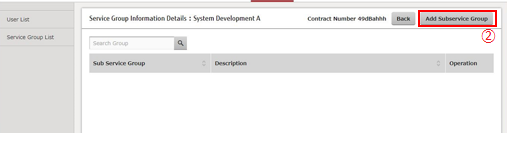
- Confirm that you are on the [Service Group Information Details] screen and click [Add Subservice Group] button ②.
-
On [Add Subservice Group] screen, enter a subservice group name and click [Next] button ③.
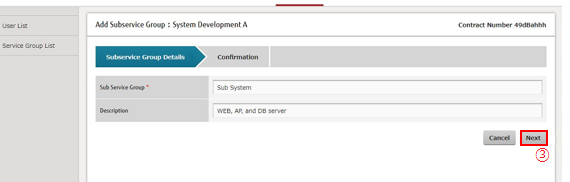
Item Name Explanation Sub Service Group Enter a sub service group name, following the input restrictions. Description Enter a sub service group description, following the input restrictions. -
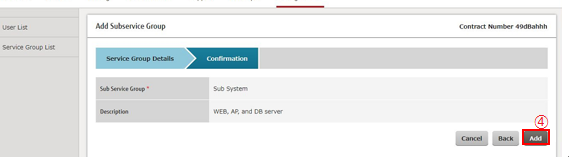
On the confirmation screen, check the entered information and click [Add] button ④.
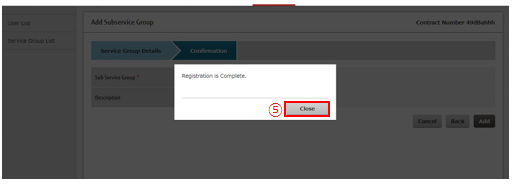
- The message ‘Registration is Complete’ is displayed on screen. Click [Close] button ⑤.
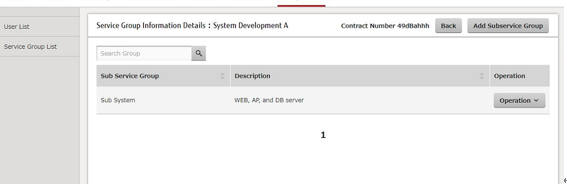
- On [Service Group Information Details] screen, confirm that the registered sub service group name is displayed.
3.5.1.3 Changing a Service Group#
Change the information of the created service group.
Before Starting#
Log in to the FJCS Portal as a "Contractor" or an "Administrator" to display the [Edit service group] screen (see Procedure in 3.5.1.1).
Outline#
Edit service group information using the procedure below. In this example, you will change the service group name added in 3.5.1.1 Adding a Service Group.
Procedure#
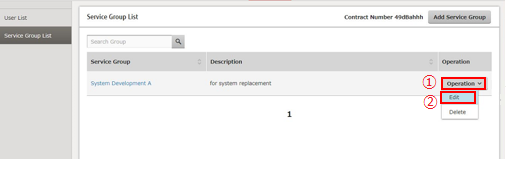
- On [Service Group List] screen, click [operation] ① of the service group you want to edit and then select [Edit] ②.
-
On the [Edit service group] screen, edit the service group information. In this example, change the service group name. After editing the name, click the [Update] button ③.
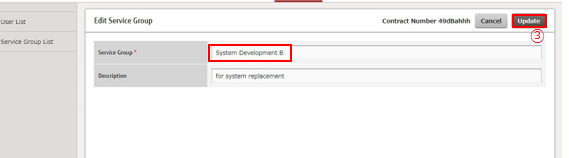
Item Name Explanation Service Group Enter a service group name, following the input restrictions. Description Enter a service group description, following the input restrictions. -
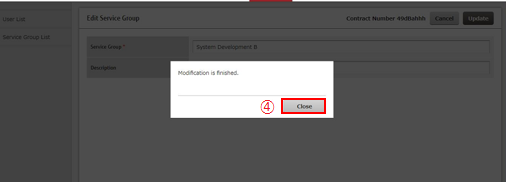
The message ‘Modification is finished’ is displayed on screen. Click [Close] button ④.
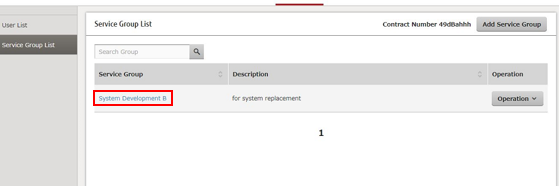
- On [Service Group List] screen, confirm that the service group name has been changed.
3.5.1.4 Changing a Sub Service Group#
Change the information of the created sub service group.
Before Starting#
Log in to the FJCS Portal as a "Contractor" or an "Administrator" to display the [Edit service group] screen (see Procedure in 3.5.1.1).
Outline#
Edit service group information using the procedure below. In this example, you will change the service group name added in 3.5.1.2 Adding a Sub Service Group.
Procedure#
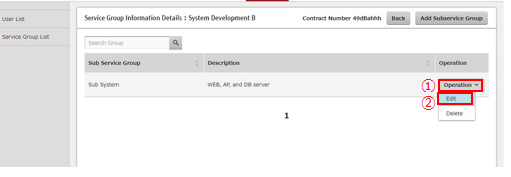
- On [Service Group Information Details] screen, click [operation] ① of the sub service group you want to edit and then select [Edit] ②.
-
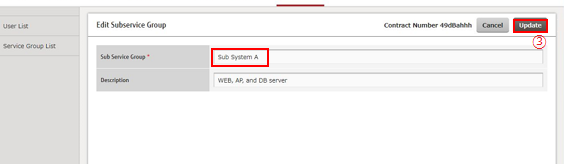
On the [Edit Subservice group] screen, edit the sub service group information. In this example, change the sub service group name. After editing the name, click the [Update] button ③.
Item Name Explanation Sub Service Group Enter a sub service group name, following the input restrictions. Description Enter a sub service group description, following the input restrictions. -
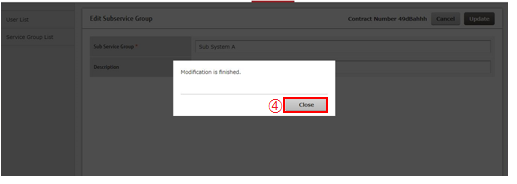
The message ‘Modification is finished’ is displayed on screen. Click [Close] button ④.
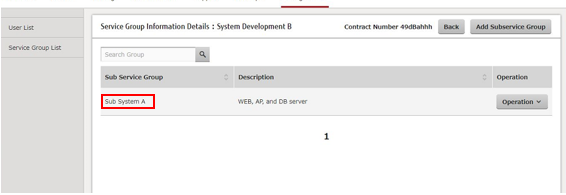
- On [Service Group Information Details] screen, confirm that the sub service group name has been changed.
3.5.1.5 Deleting a Service Group#
Delete the created service group information.
Before Starting#
Log in to the FJCS Portal as a "Contractor" or an "Administrator" to display the [Service Group List] screen (see Procedure in 3.5.1.1).
Outline#
Delete the information of a service group using the procedure below. In this example you will delete the service group added in 3.5.1.2 Adding a Service Group.
Procedure#
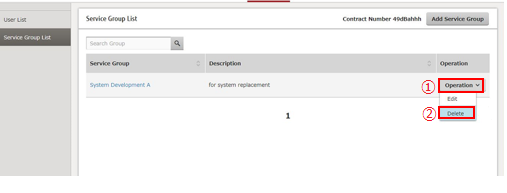
- On the [Service Group List] screen, click [operation] ① of the service you want to delete and then select [Delete] ②.
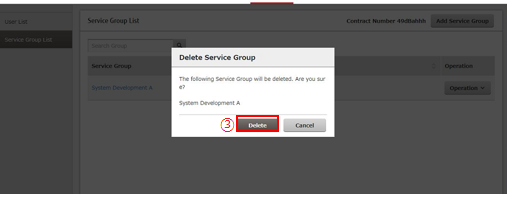
- The message ‘The following Service Group will be deleted. Are you sure?’ is displayed on screen. After you have checked that the shown service group name is correct, click [Delete] button ③.
- The message ‘Deletion is finished’ is displayed on screen. Click [Close] button ④.

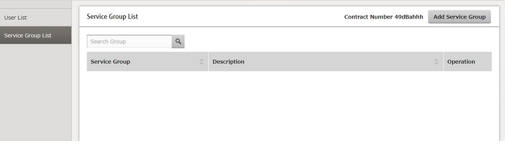
- On [Service Group List] screen, confirm that the selected service group has been deleted.
*1 Service groups linked with a service in use cannot be deleted. Deletion becomes possible after the service is stopped.
3.5.1.6 Deleting a Sub Service Group#
Delete the created sub service group information.
Before Starting#
Log in to the FJCS Portal as a "Contractor" or an "Administrator" to display the [Service Group Information Details] screen (see Procedure in 3.5.1.2).
Outline#
Delete the information of a sub service group using the procedure below. In this example you will delete the sub service group added in 3.5.1.2 Adding a Sub Service Group.
Procedure#
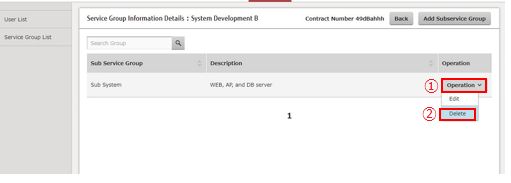
- On the [Service Group Information Details] screen, click [operation] ① of the sub service you want to delete and then select [Delete] ②.
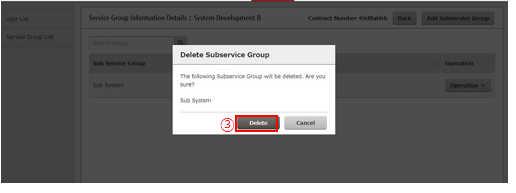
- The message ‘The following Subservice Group will be deleted. Are you sure?’ is displayed on screen. After you have checked that the shown sub service group name is correct, click [Delete] button ③.
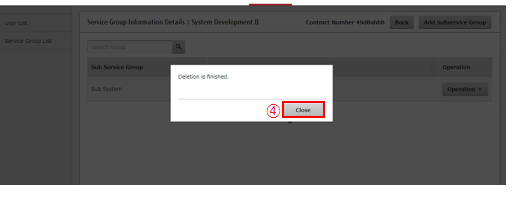
- The message ‘Deletion is finished’ is displayed on screen. Click [Close] button ④.
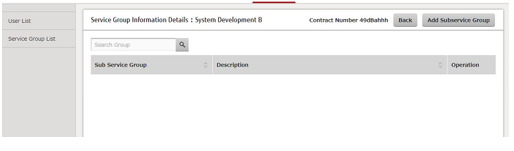
- On [Service Group Information Details] screen, confirm that the selected sub service group has been deleted.
*1 Service groups linked with a service in use cannot be deleted. Deletion becomes possible after the service is stopped.
3.5.2 Service Use#
3.5.2.1 Starting Use of a Service#
To start using a service, select the service to be used.
Before Starting#
Log in to FJCS Portal as a "Contractor" or an "Administrator".
Outline#
Start using a service following the procedure below. Selected services will be linked with the service group and the sub service group that have been added in advance. (*1)
Procedure#
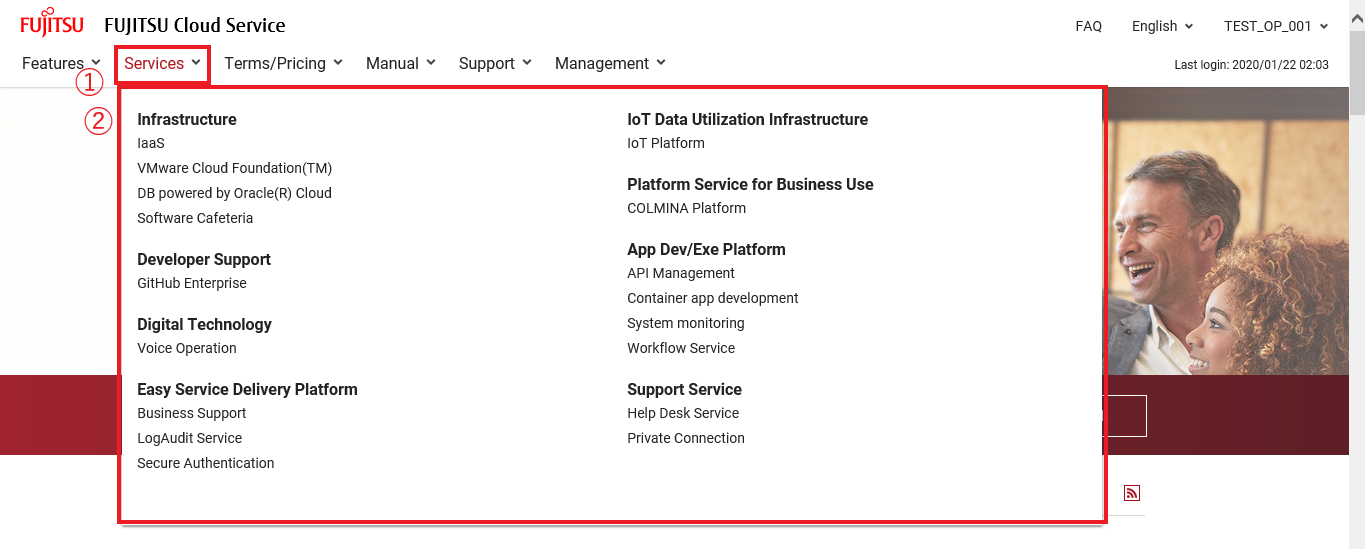
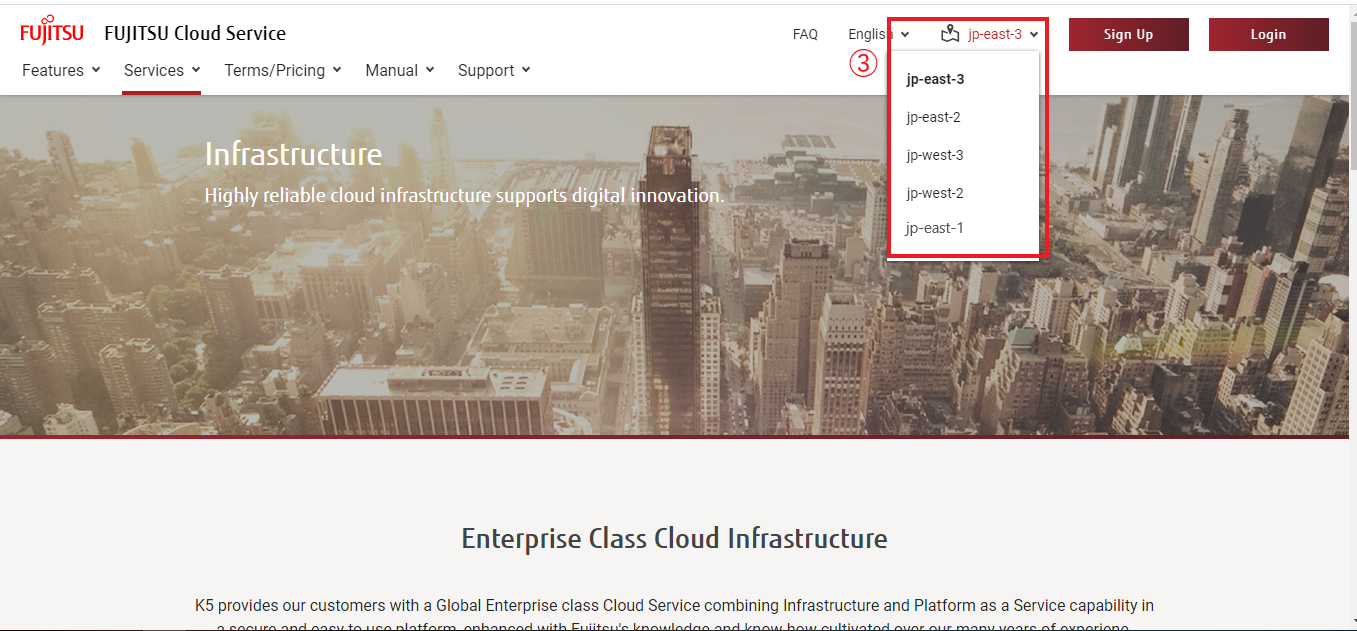
- Click [Services] ① in upper part of FJCS portal top screen and then select a category to which the service you will apply for belongs②.
- Select a region from the pull-down menu on the upper right of the screen ③.
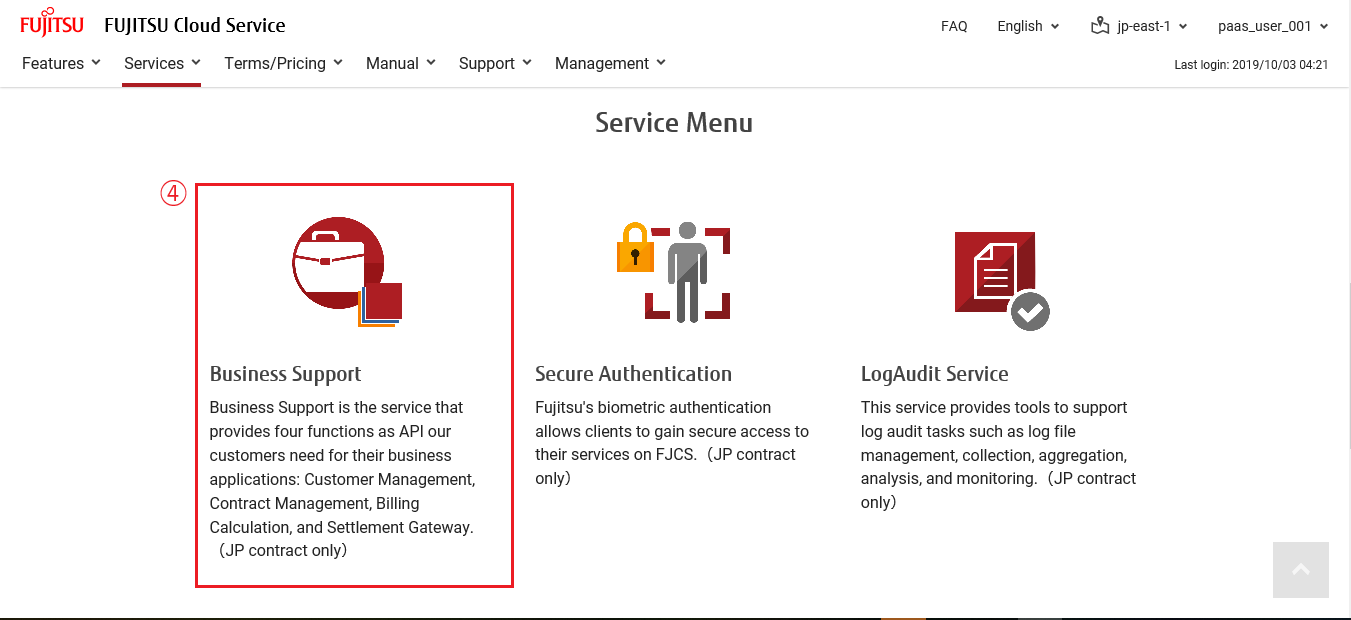
- Select a service you will apply for ④ from the service menu and click it.
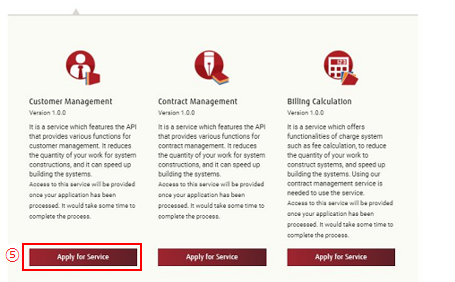
- The list of services linked with the selected service is displayed on screen. Click [Apply for Service] button ⑤ of the service you will apply for.
-
On the [Service usage setting] screen, enter the setting items (*2) and then click the [Start] button ⑦ (*3). To cancel, click the [Back] button ⑧.
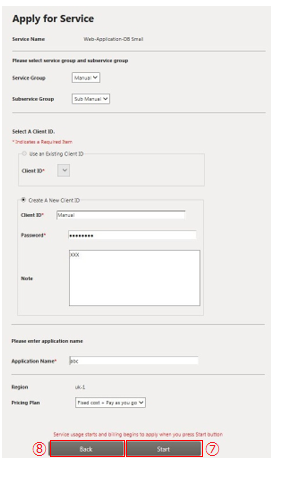
Item Name Explanation Client ID Enter a Client ID which meets the criteria*. Note that if you apply for a specific service twice or more, you are not allowed to use the client ID allocated to the first one for the next ones over again. Password Enter a Client ID Password which meets the criteria*.
*See ‘Table 3: Input Restrictions’ for the criteria..
- On the [Services In Use] screen, select the service group and the sub service group set in the [Service usage setting] screen from the Service group list ⑨ on the left, and then confirm that the set service is displayed.

*1
For the CF service, the specified service group and sub service group are set on the [Service usage setting] screen.
*2
The setting items displayed on the [Service usage setting] screen vary depending on the service involved. For details, refer to each service's documentation.
*3
Immediately available services can be used right after clicking the displayed [Start] button. For services available after an application procedure, a Fujitsu representative will contact you when the service is ready for use.
3.5.2.2 Using Services#
To use services, move to the dashboard or [login] screen of each service from the [Services In Use] screen. (*1)
Before Starting#
Log in to the FJCS Portal.
Outline#
Use a service following the procedure below:
Procedure#
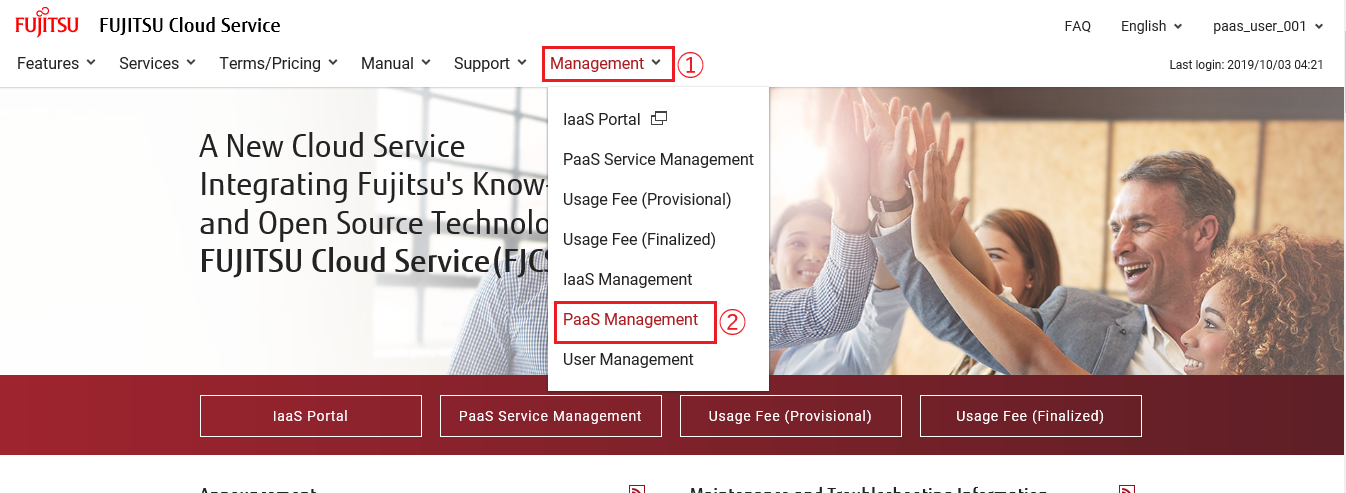
- Click [Management] ① in upper part of FJCS portal top screen and select [PaaS Service Management] ②from the pull-down menu.
- On the [Services In Use] screen, click [>] ③ of the service group of the service to be used in the Service group list on the left.

- Confirm that the sub service group list of the selected service group is displayed. Click the sub-service group of the service to be used ④.

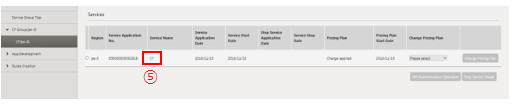
- The service list of the selected sub service group is displayed. Click the link to the service to be used ⑤.
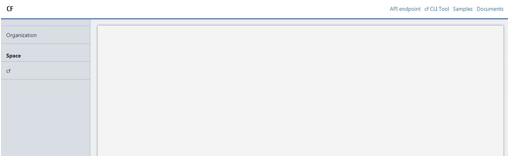
- The screen for the service to be used is displayed.
*1 For some services the operations described in this section cannot be used. Instead you have to follow the procedures sent to you after your application. For more details, please refer to each service's documentation.
3.5.3 Managing Services In Use#
3.5.3.1 Changing the Pricing Plan of the Service In Use#
Change the pricing plan of a service in use.
Before Starting#
Log in to the FJCS Portal as a "Contractor" or an "Administrator" to display the service list of the sub service group of the service whose pricing plan is to be changed (see Procedure in 3.5.2.2).
Outline#
Change the pricing plan of a service in use following the procedure below.
Procedure#
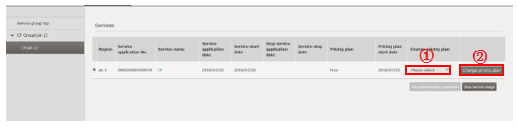
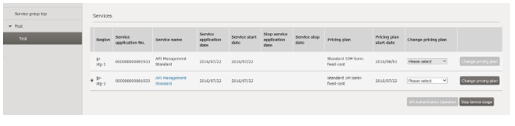
- On the [Services In Use] screen, select a pricing plan from the [Change pricing plan] pull-down menu of the service whose pricing plan is to be changed ①, and then click the [Change pricing plan] button ②.
*Please be noted that only when pricing plan choices exist, the [Change pricing plan] pull-down menu is activated.
- Confirm that the change has been reflected. A line for a new plan is added to the service list. For services still in the application procedure, the pricing plan on the same record is changed.
3.5.3.2 Register a Client ID with a corresponding service#
The following is the procedure to register a client ID that is used for authentication when API provided by PaaS is used. It works when the service in use does not have a client ID registered.
*Client ID registration is possible only when no client ID is registered for the service in use.
*You cannot register multiple client IDs for 1 service. Once a client ID is registered, it is not allowed to be deleted or modified.
*If you apply for a specific service twice or more, you are not allowed to use the client ID allocated to the first one for the next ones over again.
Before Starting#
Log in to the FJCS Portal as a "Contractor" or an "Administrator", and display the list of the sub service group to see the service with which a client ID is going to be registered (see Procedure in 3.5.2.2).
Outline#
Follow the procedure to register a client ID with a corresponding service.
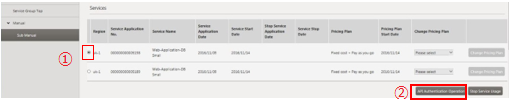
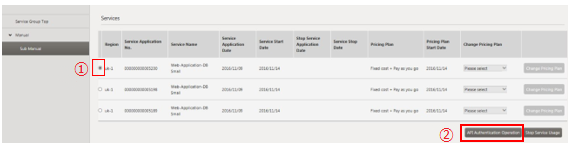
- On the [Services In Use] screen, select the service with which a client ID is going to be registered using a radio button ①, and click the [API Authentication Operation] button ②.
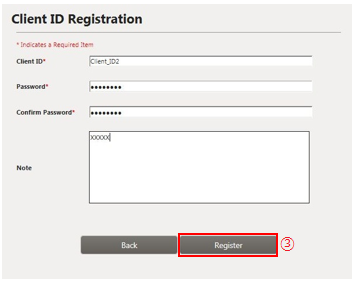
- On the [Client ID Register] screen, fill in the Client ID and Password which meet the criteria*, and click the [Register] button ③.
*See ‘Table 2: Input Restrictions’ for the criteria.
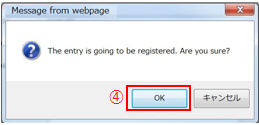
- On the ‘Message from webpage’ popup, click the [OK] button ④.
- On the following ‘Message from webpage’ popup, see that the registration is completed, and click the [OK] button ⑤.
3.5.3.3 Change the Client ID Password for a corresponding service#
The following is the procedure to register a client ID that is used for authentication when API provided by PaaS is used.
Before Starting#
Log in to the FJCS Portal as a "Contractor" or an "Administrator", and display the list of the sub service group to see the service whose client ID password is going to be changed (see Procedure in 3.5.2.2).
Outline#
Follow the procedure to change the client ID password of for a corresponding service
- On the [Services In Use] screen, select the service whose client ID password is going to be changed using its radio button ①, and click the [API Authentication Operation] button ②.
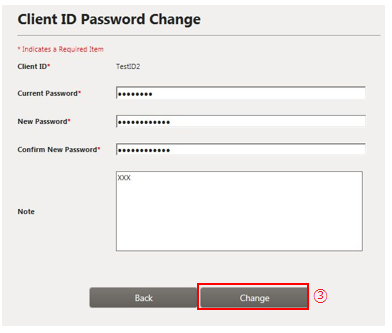
- On the [Client ID Register] screen, fill in the Client ID and Passwords which meet the criteria*, and click the [Change] button ③.
*See ‘Table 2: Input Restrictions’ for the criteria.
- On the ‘Message from webpage’ popup, click the [OK] button ④.
- On the following ‘Message from webpage’ popup, see that the password change is completed, and click the [OK] button ⑤.
3.5.4 Stopping Services#
3.5.4.1 Stopping Services In Use#
Stop a service in use.
Before Starting#
Log in to FJCS Portal as a "Contractor" or an "Administrator" to display the service list of the sub service group of the service to be stopped (see Procedure in 3.5.1.2).
Outline#
Stop a currently in use service following the procedure below.
Procedure#
- Select the radio button of the service to be stopped ① and then click the [Stop service usage] button ②.
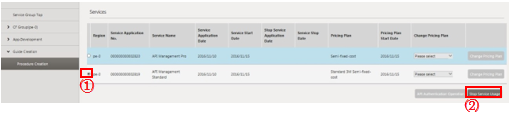
- Confirm that the service has been stopped. (*1)

*1 Some services terminate immediately after the [Stop service usage] button is clicked, while others may take some time to stop.
3.5.5 Changing Users’ PaaS Roles#
3.5.5.1 Changing Users’ PaaS Roles#
The PaaS roles of other users can be changed in order to allow them to perform various PaaS operations. Contractors and administrators can change other FJCS Portal users’ roles.
Before Starting#
Log in to the FJCS Portal as a "Contractor" or an "Administrator".
Outline#
Change a user role following the procedure below.
Procedure#
- Click [Management] ① in the upper part of the FJCS portal top screen and select [PaaS Management] ② from the pull-down menu.
- On the [User list] screen, click the [Change Role] button of the user whose role is to be changed ③.

- On the [Change Role] pop-up, select a new role and click [change] button ④. To cancel the role change, click the [Cancel] button ⑤. (*1)
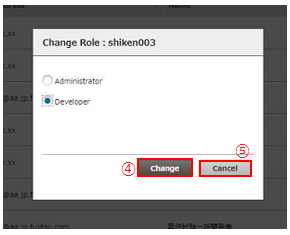
- Confirm that the role has been changed on the [User List] screen.

*1 Users registered as an "Administrator" role cannot change their own role on the [User list] screen, although they are displayed on it as the result of a search. Ask another "Contractor" or "Administrator" to perform the role change.